In summary:
- The three-dimensional sound of a real rotating speaker is due to the Doppler effect and amplitude modulation—a physical phenomenon plugins can’t fully replicate.
- To make an electric piano fit in a dense rock mix, focus on carving out competing frequencies with guitars and using sparse, complementary voicings.
- Authentic rock organ tones are achieved through specific drawbar settings combined with manipulating Leslie speed and, crucially, using amplifier-stage overdrive.
- The tuning instability of analog synths is a physical reality caused by temperature changes, requiring a warm-up period to ensure pitch stability on stage or in the studio.
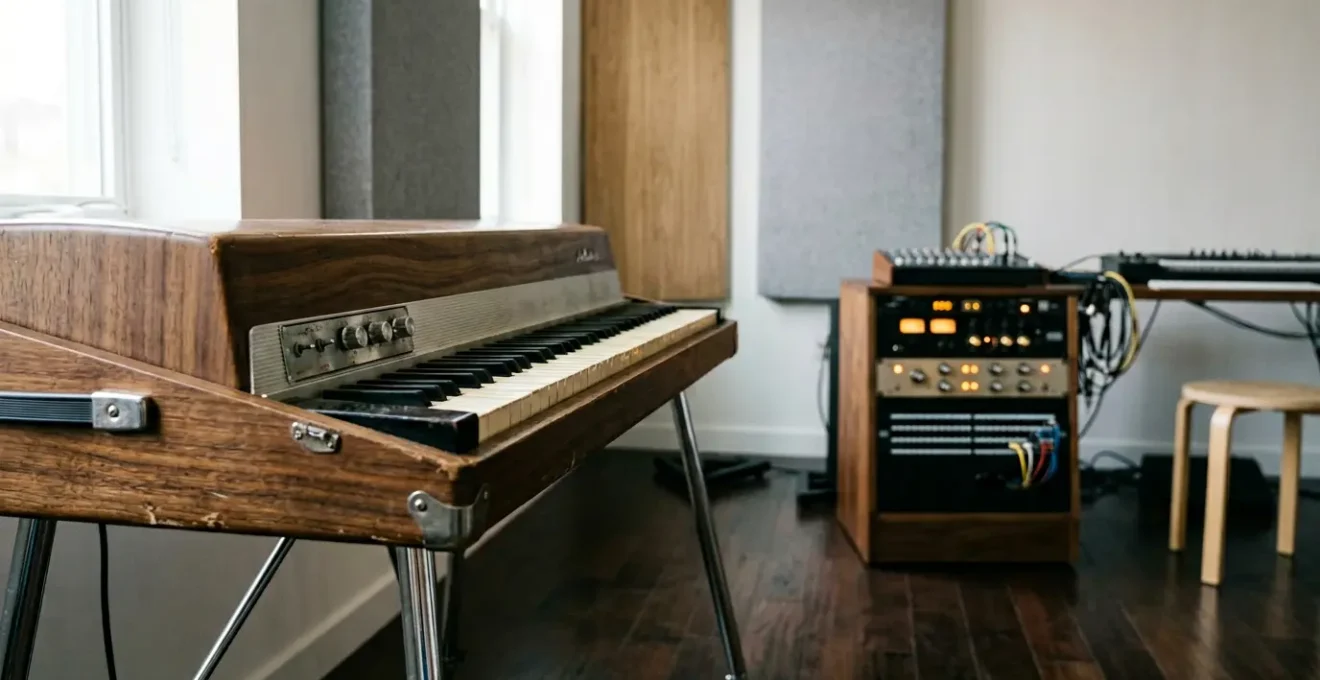
There’s a physical truth to a vintage keyboard that no software can emulate. It’s the weighty thud of a Rhodes tine, the electromechanical hum of a Hammond B3 warming up, the satisfying clack of its drawbars. As a restorer and player, I’ve spent countless hours with my hands inside these magnificent machines, and I know their soul isn’t just in their sound—it’s in their mechanics. The modern workflow, with its endless plugins and digital convenience, often tempts us to bypass the very thing that makes these instruments special. We’re told a good sample library is « close enough, » and that a DI box is all you need.
But what if the goal isn’t just to capture a clean signal? What if the goal is to capture the instrument’s entire physical presence—its breath, its quirks, its inherent resistance to being tamed? The biggest mistake is treating a 300-pound electromechanical beast like a simple VST. These instruments were designed in an era of valves, transformers, and moving parts, and they demand a different kind of respect and understanding. Their « flaws » are their character.
This guide isn’t about finding the easiest way. It’s about finding the *right* way to honor the engineering and soul of these instruments in a modern rock context. We’re going beyond simple EQ tips and diving into the physics of rotating speakers, the harmonic friction between keyboards and guitars, the art of controlled saturation for a screaming organ tone, and the temperamental nature of analog voltage. It’s time to stop simulating the sound and start recording the machine itself.
This article explores the essential techniques and mindset required to make your vintage keyboards not just work, but truly shine in a modern production. Follow along as we break down the most critical aspects of their maintenance and recording.
Summary: How to Maintain and Record Vintage Keyboards in a Modern Studio Workflow?
- Why a Real Rotating Speaker Sounds 3D Compared to a Digital Plugin?
- Bark or Bell: Which Electric Piano Tone Sits Better in a Guitar-Heavy Mix?
- How to Set Drawbars for a Screaming Rock Organ Tone vs a Mellow Pad?
- The Temperature Mistake That Makes Your Analog Synths Go Out of Tune on Stage
- Where to Place the Overdrive Pedal for a Jon Lord Style Organ Sound?
- How to Program MIDI Violins to Sound Realistic in a Rock Context?
- Why Tuning a Harpsichord is a Nightmare for Touring Bands?
- How to Program Synth Patches That Cut Through Distorted Guitars?
Why a Real Rotating Speaker Sounds 3D Compared to a Digital Plugin?
The magic of a Leslie speaker isn’t a stereo chorus or a simple panning effect; it’s a complex, physical event happening in real space. A digital plugin can simulate the result, but it can’t replicate the cause. The core of the sound comes from two rotating components: a high-frequency horn and a low-frequency rotor. This physical movement of the sound source creates a sonic tapestry that is impossible to fake perfectly. It’s about moving air in a room, creating a swirling vortex of sound that envelops the listener.
The primary phenomenon at play is the Doppler effect, the same principle that makes an ambulance siren change pitch as it passes you. As the horn rotates towards you, the sound waves are compressed, raising the pitch slightly. As it rotates away, the waves are stretched, lowering the pitch. Simultaneously, you get amplitude modulation, as the volume swells and dips when the horn points towards and away from you. According to Leslie speaker technical specifications, the slow « chorale » speed of around 50 rpm and the fast « tremolo » speed of 400 rpm create wildly different combinations of these effects, giving the sound its characteristic shimmer and life.

This image captures the essence of that displaced air. A plugin processes a static, one-dimensional signal. A Leslie speaker takes that signal and makes it physically three-dimensional. It creates a constantly changing web of sound waves, reflections, and phase shifts within the room it occupies. This is why a miced-up Leslie sounds « in the room » with you, while a plugin often sounds like it’s just « on the track. » You’re not just recording an organ; you’re recording an acoustic event.
Therefore, capturing a Leslie is less about finding the perfect plugin and more about microphone placement—treating it like the acoustic instrument it effectively becomes. There is no substitute for the real thing because the « thing » is the physics itself.
Bark or Bell: Which Electric Piano Tone Sits Better in a Guitar-Heavy Mix?
The electric piano, whether it’s a Rhodes with its bell-like tines or a Wurlitzer with its reed-based bite, occupies a tricky space in a rock band. It’s a percussive, harmonic instrument that lives in the same midrange territory as distorted guitars and vocals. The key to making it work is not to fight for space, but to intelligently occupy the gaps. The eternal struggle is managing the lush, harmonic-rich low-mids that can turn a mix into mud, and controlling the aggressive « bark » of the attack.
As the audio engineers at Sonic Bids point out, the problematic areas are often predictable. They note that the « boom » between 100 to 200 Hz can quickly become « overgrown Jurassic underbrush, » while the « bark » and damper noise can be an issue around 800 to 1,000 Hz. This is the heart of the battle: a « bell » tone, rich in fundamental and low harmonics, can sound beautiful in solo but will clash and disappear behind a wall of guitars. A « bark » tone, with a more focused midrange, will cut through but can sound thin or harsh if not shaped correctly. The solution is often a bit of both: surgically cutting the mud to create space, and carefully shaping the bark so it has presence without being obnoxious.
Your action plan: Blending keyboards and guitars
- Agree on the key and chord progression with the guitarist before playing to avoid clashing voicings and dissonances.
- Decide who provides the main rhythmic movement; avoid both instruments playing busy, complex rhythms simultaneously.
- When the guitarist is strumming dense power chords, counter with long, sustained keyboard chords, minimizing rhythmic activity.
- For heavy rock with root-fifth power chords, match the guitar by using similar root-and-fifth voicings and leaving out the third, which often causes clashes.
- Use smaller two-note chord voicings (like a root with a fifth below) to create a solid harmonic foundation that meshes cleanly against the guitar parts.
Ultimately, the choice between « bark » or « bell » is a false one. A successful electric piano part in a rock mix needs elements of both. It requires a player’s touch that adjusts to the arrangement—playing fewer notes and simpler voicings when the guitars are raging—and a producer’s ear that carves out a specific frequency pocket for it to live in. It’s a dance of arrangement and equalization.
It’s not about who is louder; it’s about creating a complementary sonic puzzle where each piece has its own defined space.
How to Set Drawbars for a Screaming Rock Organ Tone vs a Mellow Pad?
The nine drawbars on a Hammond organ are the keys to its tonal universe. They are not simple volume faders; each one controls a specific harmonic overtone based on the principles of a pipe organ. Understanding them is the difference between a generic organ sound and a truly expressive performance. For a mellow pad, the approach is intuitive: focus on the first few drawbars—the fundamental (16′), sub-octave (8′), and fifth (5 1/3′)—with just a hint of upper harmonics for « air. » This creates a smooth, foundational sound that can sit comfortably under a band.
But a screaming rock tone? That is a different beast entirely. It’s an act of aggression. This involves pulling out the upper drawbars, those representing the 2nd, 3rd, 4th, and even 6th harmonics, to create a bright, cutting sound full of high-frequency content. This is where the organ’s famous « scream » comes from. Adding percussion, a feature that adds a sharp « plink » to the start of a note, further enhances the attack and helps it cut through a dense mix.
The true art lies in the specific combination and the context of the performance. A legendary tone is a precise recipe of drawbars, percussion, and vibrato/chorus settings, all manipulated in real-time. In a detailed breakdown of his technique, professional organist Mike Finnigan, who played with giants like Jimi Hendrix and Joe Cocker, shares a secret weapon for rock solos.
Mike Finnigan’s Penetrating Rock Organ Tone
To cut through a full band and get solos heard over loud guitar players, Finnigan uses a gospel-tinged, aggressive setting of 668848588 on the drawbars. Crucially, he uses this with no percussion enabled, relying on the raw harmonic content. He pairs this with a C3 vibrato setting and, most importantly, constantly alternates the Leslie speaker speed between fast and slow to create maximum dynamic impact and movement.
This example demonstrates that a great rock organ sound isn’t just a static setting. It’s a combination of a harmonically rich drawbar configuration and the expressive use of the Leslie speaker. The mellow pad is a foundation; the screaming rock lead is a weapon.
The drawbars give you the ammunition, but the Leslie speed and your playing dynamics are what you use to aim it.
The Temperature Mistake That Makes Your Analog Synths Go Out of Tune on Stage
If you’ve ever fired up a true analog synthesizer like a Minimoog or Prophet-5 and found it sounding bizarrely out of tune, you’ve encountered a fundamental law of physics. The pitch of a vintage analog synth is determined by Voltage-Controlled Oscillators (VCOs), which are electronic circuits highly sensitive to temperature. This isn’t a bug; it’s a core characteristic of their design. As the components inside the synthesizer warm up from being turned on, their electrical properties change, causing the voltage—and thus the pitch—to drift.
This isn’t a subtle effect. In fact, research on analog synthesizer temperature compensation shows a staggering drift of up to 4 cents per octave for every 1°C change in temperature in circuits without modern compensation. For a keyboard spanning several octaves, this can quickly result in notes that are painfully out of tune with each other and the rest of the band. The most common mistake is failing to account for this warm-up period, especially in a live setting.
Analog oscillator drift due to temperature changes should be a problem only if you are significantly changing the conditions. Like when you bring a cold oscillator into a venue. That is where the value of temperature compensation will be apparent.
– MOD WIGGLER Forum Discussion, Analog oscillator drift – professional synthesizer forum
This « voltage temperament » is a physical reality. Bringing a synth from a cold van into a hot, humid club with stage lights is a recipe for tuning disaster. The solution is simple but crucial: patience. An analog synth needs a proper warm-up period, typically 15-30 minutes, to reach a stable operating temperature before you even think about tuning it. Tuning it cold is pointless, as it will inevitably drift as it warms up. Many modern analog synths have improved temperature compensation circuits or a digital « auto-tune » function that helps, but for pure vintage gear, the only cure is time and a stable environment.
Treat it like an acoustic instrument that needs to acclimate to the room. Its tuning isn’t a static value; it’s a state of thermal equilibrium.
Where to Place the Overdrive Pedal for a Jon Lord Style Organ Sound?
This is a trick question. The iconic, roaring Hammond sound of Deep Purple’s Jon Lord wasn’t primarily created with an overdrive pedal placed before the organ. The secret to his monumental tone lies in a much more brutal and fundamentally rock-and-roll approach: abusing guitar amplifiers. A Hammond organ’s standard signal path is to a Leslie speaker, which has its own internal amplifier. While these can be overdriven, they weren’t designed for the kind of heavy saturation Lord was after.
Jon Lord’s innovation was to treat his Hammond C3 not as a traditional organ, but as the signal source for a full-blown guitar amp rig. He pioneered a setup where the organ’s output was split, with one signal going to a Leslie for its characteristic swirl, and the other routed directly into a Marshall guitar amplifier stack. This is where the magic, or rather the mayhem, happened. He was cranking the Marshall amps to the point of natural power-tube saturation, creating the thick, harmonically rich distortion that became his signature.
This method leverages the inherent characteristics of both the organ and the amplifier, a concept highlighted by many experts. As Reverb News notes, the amps in classic Leslie models were low-wattage and easily overdriven, which « primed [them] for the thick and dirty organ sounds made famous » by players like Jon Lord. He simply took this principle to its logical extreme.
Jon Lord’s Signal Chain: A Rock Revolution
Historical analysis of Jon Lord’s setup confirms his use of the Hammond’s output to feed external guitar amplification, specifically Marshall stacks. Unlike players who might use a simple distortion pedal, Lord achieved his sound through true amplifier saturation. This approach, shared by contemporaries like Tom Coster of Santana and Keith Emerson, pushed the Hammond out of its traditional context and cemented its place as a lead instrument in rock, with Lord’s guitar-amp method being the most aggressive and influential.
So, while you can get a good overdriven organ sound with a pedal, to truly chase the Jon Lord dragon, you need to think like him. The overdrive isn’t an effect you add; it’s a result of pushing a powerful amplifier to its breaking point. The « pedal » was, in essence, a 100-watt Marshall head.
The sound wasn’t in a box on the floor; it was in the glowing valves of an amplifier stack working as hard as the musician playing it.
How to Program MIDI Violins to Sound Realistic in a Rock Context?
Programming realistic MIDI strings, especially in a rock track, is one of the great challenges of modern production. The reason most attempts fail is simple: programmers think about notes, while violinists think about gestures. A real violin is not a simple on/off sound generator. Its expression comes from the continuous, physical interaction between the bow, the string, and the player’s fingers. To make your MIDI violins sound believable, you have to emulate these mechanical and human nuances.
First, abandon the piano roll mindset. A pianist can play ten notes at once; a string section cannot. Think in terms of individual lines and voices, just as a composer would arrange for a real quartet. Pay close attention to the physical limitations and expressive possibilities of the instrument. For a powerful rock track, this means focusing on a few key areas:
- Bow Articulation: Don’t just use one sustained patch. A real player uses different bow strokes for different emotions. Use staccato patches for aggressive, rhythmic parts, and switch to legato patches for smooth, connected melodies. The transition *between* notes is as important as the notes themselves.
- Dynamics and Expression: A static velocity level is a dead giveaway. Ride the expression controller (CC11) constantly. A real player’s volume is never perfectly flat. It swells into notes and decays out of them. A slight crescendo over the course of a long note can add immense tension and realism.
- Vibrato Control: Vibrato on a violin is not a constant LFO. It’s an expressive tool. It’s often applied with a slight delay after the note starts and its speed and intensity vary depending on the emotional content of the phrase. Automate your vibrato depth and speed (often CC1) to make it « breathe. »
- Portamento/Glide: For soaring lead lines, a subtle and tastefully used portamento (a smooth slide between two notes) can be the secret ingredient. It mimics the sound of a player sliding their finger along the string, a uniquely human gesture that instantly adds authenticity.
The goal is to trick the listener’s brain by providing the sonic cues it associates with a real performance. Layering multiple string patches—one for the sharp attack, another for the sustained body—can also add depth. In a rock context, you don’t need a perfect classical performance; you need aggression, emotion, and the illusion of human imperfection.
The secret isn’t in finding the most expensive sample library; it’s in learning to « play » it with the same attention to physical gesture that a real violinist would.
Why Tuning a Harpsichord is a Nightmare for Touring Bands?
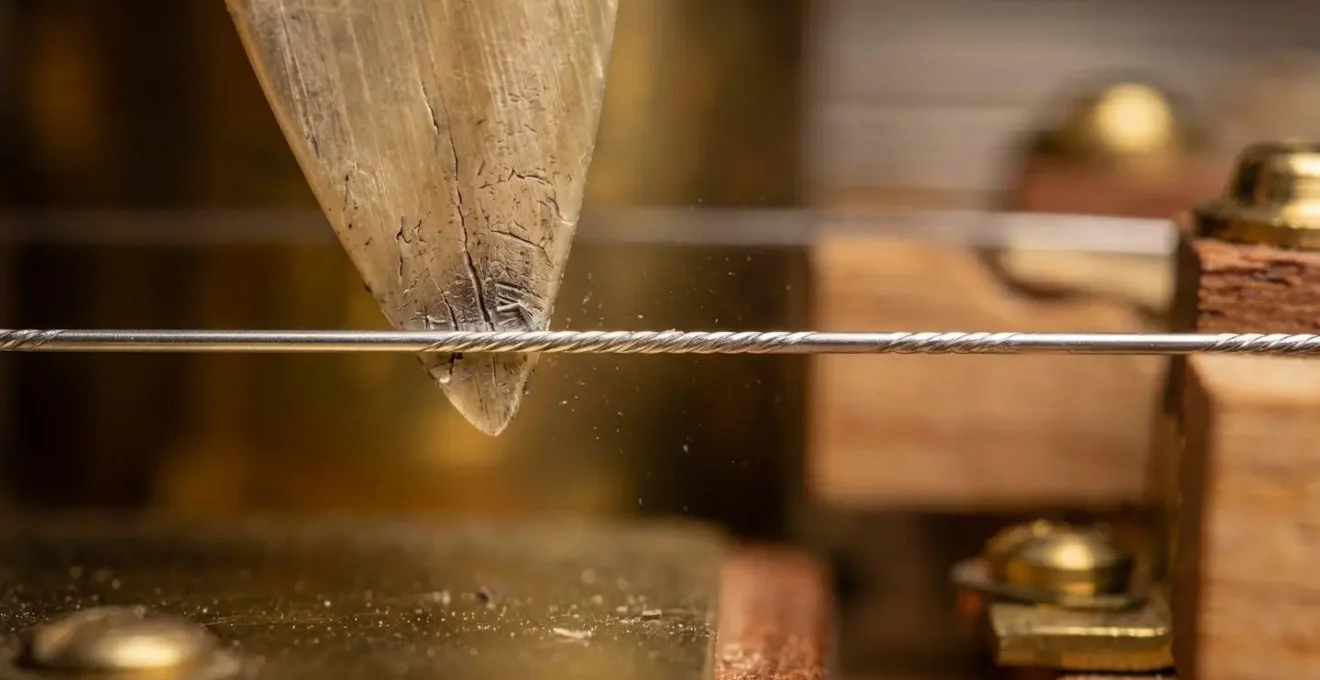
Bringing a harpsichord on the road is the logistical and technical equivalent of touring with a house of cards. While a piano is a robust instrument with a heavy cast-iron frame, a harpsichord is a delicate creature of wood, tension, and exquisite fragility. Its tuning instability is legendary, and it stems directly from its beautiful, but archaic, mechanical design. The core of the problem lies in its sound-producing mechanism and its lightweight construction.
Unlike a piano, which strikes a string with a felt hammer, a harpsichord plucks the string with a plectrum, traditionally a bird quill and now often a small piece of Delrin plastic. This plectrum is mounted on a small, vertical piece of wood called a jack. When a key is pressed, the jack rises, the plectrum plucks the string, and on its way down, a small felt damper silences it. This entire mechanism is incredibly sensitive. The lightweight wooden frame that holds the strings under tension is susceptible to the slightest changes in temperature and humidity. As the wood expands or contracts, the tension on the strings changes, throwing the instrument out of tune.
The nightmare doesn’t stop there. This sensitivity means a harpsichord must be tuned constantly, often before every performance, and sometimes even between pieces. For a touring band, this is a logistical black hole. Moving the instrument from a truck to a stage, with drastic changes in environment, guarantees it will be wildly out of tune. It requires a specialist—a dedicated keyboard tech who is also a skilled harpsichord tuner—to spend a significant amount of time with a tuning hammer, painstakingly adjusting each of the instrument’s dozens of tuning pins before the show.
Furthermore, harpsichords often use historical tuning systems called « temperaments » (like Werckmeister or Kirnberger), where not all keys are perfectly in tune, giving different musical keys distinct « colors. » Maintaining this specific temperament adds another layer of complexity. It’s a beautiful, characterful sound, but one born of a mechanism that prioritizes delicate articulation over robust stability.
For a rock band on a tight schedule, the time, expense, and sheer fragility of a real harpsichord often make it an impractical indulgence, a beautiful but high-maintenance ghost of the baroque era.
Key takeaways
- The most authentic vintage sounds come from understanding and recording the physical, mechanical properties of real instruments, not just simulating their output.
- Harmonic space in a mix is finite. Effective keyboard parts in a rock setting are built on complementary frequency allocation and rhythmic interplay with guitars, not volume wars.
- True analog instruments are physically sensitive to their environment; factors like temperature are not bugs but inherent characteristics that must be managed.
How to Program Synth Patches That Cut Through Distorted Guitars?
In the sonic battlefield of a modern rock mix, distorted guitars are the dominant force. They create a thick, dense wall of midrange energy. Getting a synthesizer to cut through this wall without simply turning up the volume—and starting a loudness war you can’t win—is an art form. The secret is not to compete with the guitars, but to be clever about finding the frequencies they *don’t* occupy. It’s a game of sonic Jenga, carefully placing your synth sounds into the gaps of the arrangement.
The first step is to accept that a huge, wide, stereo pad that sounds glorious on its own will almost certainly vanish in a mix. You must think in terms of frequency carving and complementary tones. The guitar’s power comes from its rich midrange harmonics. This is your primary area of conflict. A common mistake is to boost the synth in the same range, which only adds to the mud. The professional approach is to do the opposite: create space.
Here are some essential frequency ranges to focus on, based on proven mixing principles for creating separation between synths and guitars:
- The Mud Zone (400-600 Hz): Many synth patches have a lot of energy here. This is also where guitars can get boxy. Be aggressive with your EQ and start by making cuts in your synth patch in this range. This is often the single most effective move for improving clarity.
- The Presence « Poke » (1,000-2,000 Hz): This is where the ear is highly sensitive and where the character of many sounds lives. A careful, narrow boost in this range can help a synth « poke through » the wall of guitars without adding significant volume.
- The Shimmer and Cut (3,000-8,000 Hz): Guitars have brilliance here, but it’s also where you can add « shimmer » and « air » to a synth patch. A high-shelf boost can allow a synth to cut through by sitting *on top* of the guitars, rather than fighting them in the midrange.
- The Low-End Rule: Always use a high-pass filter on your synth patches, starting around 80-100 Hz (or higher if it’s not a bass patch). This instantly cleans up the low end, leaving room for the kick drum and bass guitar, which is a non-negotiable part of a powerful rock mix.
Beyond EQ, consider sound design. A patch with a fast attack will cut through more easily than one with a slow, swelling attack. Using unison or detuned oscillators can create a wider sound that doesn’t rely on stereo effects, which can often get lost in a dense mix. The goal is to program patches that are inherently designed to coexist with guitars, not to fight them for the spotlight.
Begin crafting your synth patches with these frequency conflicts in mind, and you will move from creating sounds that get buried to creating sounds that define the track.